Easy Accordion Paper Snake Craft: Step-by-Step Fun
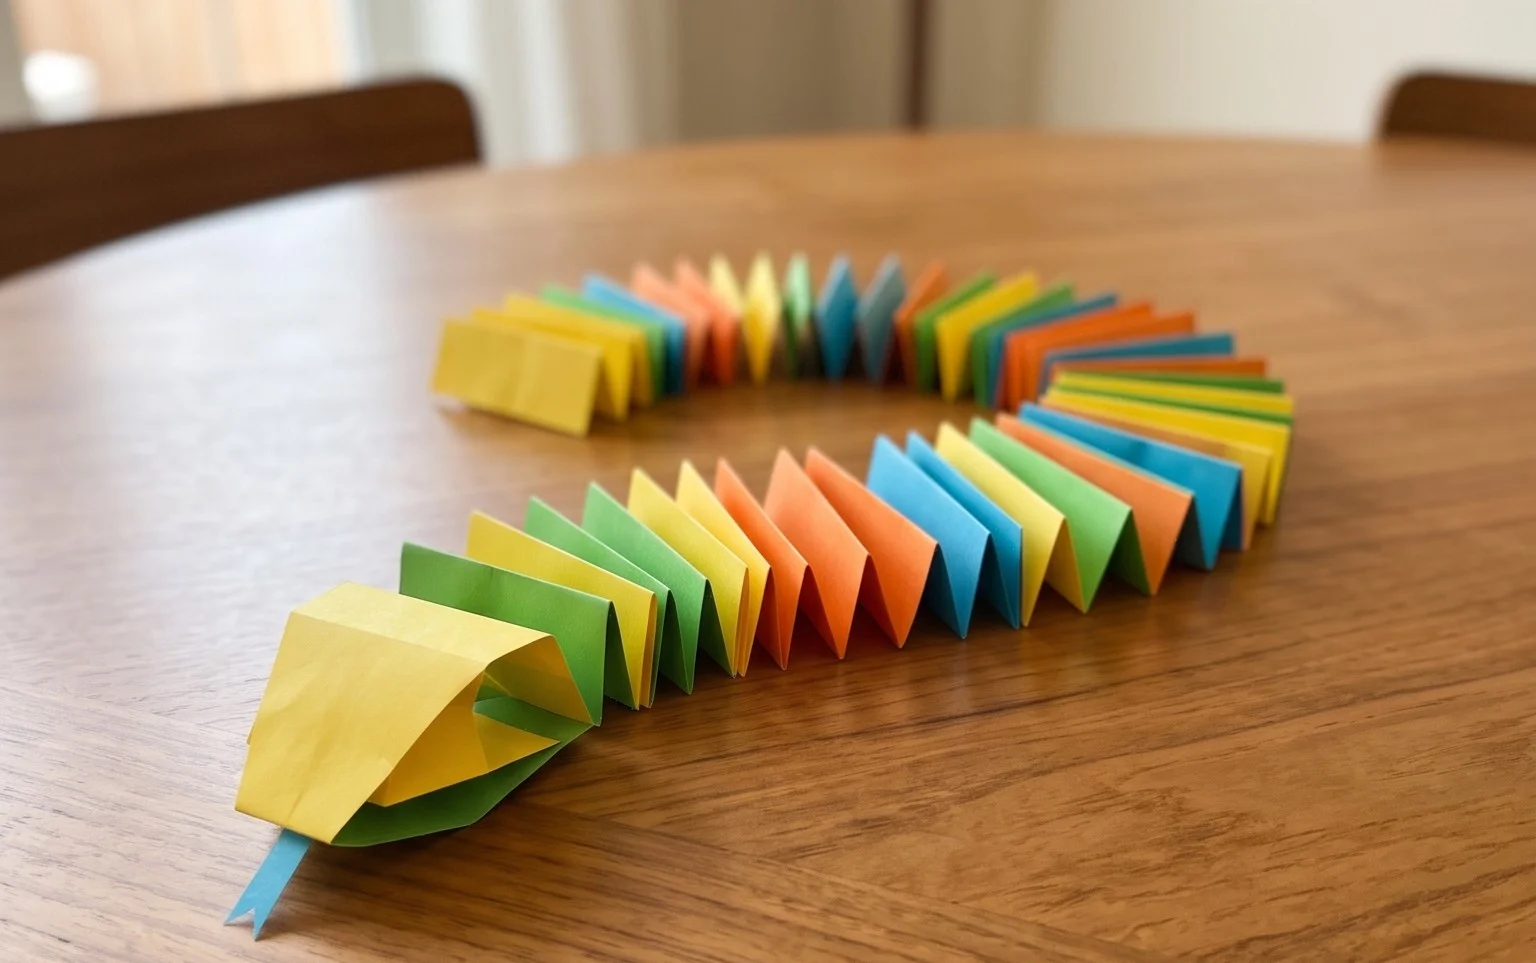
Accordion Paper Snake Craft is here to slither its way into your crafting heart! Get ready to create a wonderfully wiggly, accordion-folded paper snake that looks just like the real deal, complete with a charming head and a delightfully expandable body. This project is so easy peasy, it’s perfect for absolute beginners, especially kids, and it makes for a super cute decoration or a fun handmade gift! In just about 15-20 minutes, you’ll master the simple folds and discover how to bring your paper serpent to life. We’ll guide you step-by-step, showing you how to transform a plain piece of paper into a playful, slithering friend. Let’s get folding and have some fun!
Accordion Paper Snake Craft – Easy Peasy and Fun!
Hello, origami adventurers! Today, we’re going to embark on a delightfully simple yet incredibly satisfying origami journey. We’re going to create an adorable, slithering Accordion Paper Snake. This project is perfect for absolute beginners, a fun rainy-day activity with kids, or just a quick way to bring a touch of playful charm into your space. No fancy folds or complex maneuvers here – just pure, unadulterated paper-folding fun! So, grab your paper, take a deep breath, and let’s get ready to make some snakes!
Choosing Your Paper Companion
The beauty of this project lies in its simplicity, and that extends to the paper we’ll use. You don’t need anything specialized, but choosing the right kind can make the process smoother and the final result more appealing.
Type and Weight
For our accordion snake, standard copier paper or printer paper is absolutely perfect. It’s readily available, easy to fold, and holds creases well. If you want something a bit more robust, you could try slightly heavier cardstock, but be aware that it can be a little harder to get crisp folds. Avoid very thin tissue paper, as it might tear easily. The weight of standard printer paper (around 70-80 gsm) is ideal.
Size Matters (But Not Too Much!)
You can make your snake any size you like, but starting with a standard square piece of paper is usually the easiest. A 6-inch by 6-inch (or 15cm by 15cm) square is a fantastic starting point for beginners. If you have larger paper, say 8 inches by 8 inches (20cm by 20cm), your snake will simply be longer. If you only have rectangular paper, don’t worry! I’ll explain how to make a perfect square from it in a moment.
Single or Double Sided?
This is where you can get creative!
* **Single-sided paper:** If you use paper that’s colored on one side and white on the other, your snake will have a lovely contrast between its accordion folds and the color. This can be really striking.
* **Double-sided paper:** Using paper that’s the same color on both sides will give you a uniform look.
* **Patterned paper:** This is where the magic happens for a really unique snake! Think of scrapbook paper with fun patterns, or even wrapping paper if it’s not too thick. Just make sure the pattern isn’t too busy, as it can sometimes obscure the accordion effect.
If you only have rectangular paper, making a square is simple. Take one of the shorter edges and fold it diagonally upwards so it aligns perfectly with the opposite longer edge. You’ll create a triangle with a rectangular strip of excess paper hanging down. You can then cut or carefully tear off this excess strip. Unfold the triangle, and you’ll have a perfect square!
Mastering the Base Folds: The Accordion Fold**
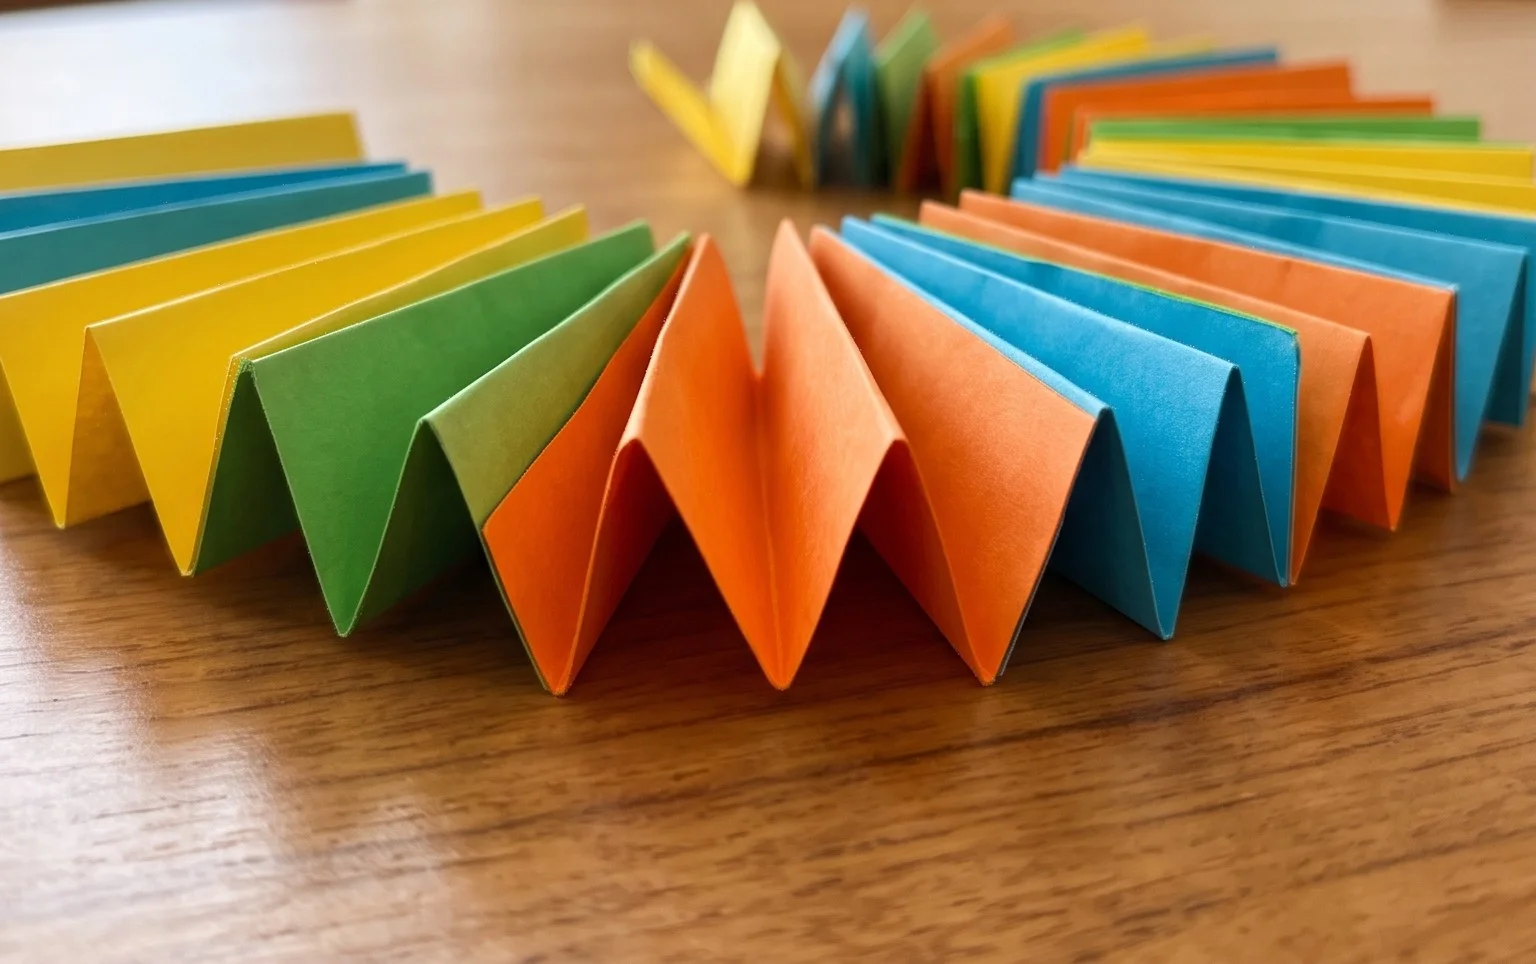
The heart and soul of our snake is the accordion fold, also known as a pleat fold. It’s surprisingly simple, and once you get the hang of it, you’ll be folding like a pro. The key is to make clean, sharp creases.
The Zigzag Technique
Imagine you’re folding a fan. That’s essentially what we’re doing here.
1. Start with your square piece of paper. For this tutorial, let’s assume you’re using single-sided paper and you want the colored side to be on the outside of your snake. So, place your paper with the white side facing up.
2. We’re going to make our first fold about half an inch (or about 1-1.5 cm) up from one edge. Take that edge and fold it over towards the center of the paper, creating a crease. Don’t fold all the way to the exact center, just a good half-inch strip.
3. Now, flip the paper over so the colored side is facing up.
4. Take the *new* edge that you just created with your first fold, and fold it over by the same amount (about half an inch) in the opposite direction. This means the folded edge will now be sitting on top of your first fold.
5. You’ve now created your first pleat! You’ll see a little zigzag pattern.
6. Continue this process, flipping the paper over and folding by the same amount each time, always folding the new edge over by half an inch. Keep going until you reach the opposite edge of your paper.
The secret to clean accordion folds is precision and pressure. Try to make each fold the same width. As you make each fold, run your fingernail firmly along the crease. This will make your snake look much neater and more professional. Don’t be afraid to press down hard!
Your Snake’s Journey: The Fold Sequence**
Now that you’ve mastered the accordion fold, let’s turn that pleated strip into our slithery friend!
1. Start with your fully accordion-folded strip of paper. It should look like a long, flattened zigzag.
2. Hold the strip horizontally in front of you. You should have a series of “mountains” and “valleys” from the folding.
3. We’re going to fold this entire strip in half. Locate the very center of your folded strip. Imagine a line running down the middle of its length.
4. Bring one end of the strip to meet the other end. This is not a precise fold in terms of aligning edges perfectly; it’s more about creasing the entire strip in the middle. Make a firm crease right where the two ends meet. This crease will form the “backbone” of your snake.
5. Now, gently spread the two halves of the strip apart. You should see your accordion folds popping out, and the strip will now be in a V-shape, with the crease you just made at the top.
6. To give your snake a head and tail, we’re going to create a couple of points. Take one of the open ends of the V-shape. This will be the head.
7. Gently pinch and pull out the tip of this end. You’re not folding, you’re just gently expanding and shaping the paper at the very tip to create a slightly pointed, snake-like head. You can even try to make it a little rounder if you like.
8. Do the same for the other open end, but this time, just gently pull it out to a point to create the tail. You can make the tail as long or as short as you wish.
And there you have it! Your very own accordion paper snake! It’s amazing how simple folds can create such a recognizable and charming shape.
Common Pitfalls and How to Avoid Them**
Even with the simplest origami, beginners can sometimes hit a snag. Here are a couple of common mistakes with the accordion snake and how to steer clear of them:
* **Uneven Accordion Folds:** This is probably the most frequent issue. If your folds are all different widths, your snake will look a bit lopsided.
* **How to Avoid:** Before you start folding, decide on your fold width (half an inch or 1-1.5 cm is a good guideline). Then, as you make each fold, try to measure consistently against the previous fold or the edge of the paper. Using a ruler to mark your fold lines lightly with a pencil *before* you start folding can be a great help for the first few times. Remember, consistency is key!
* **Squashing the Snake Flat:** After folding it in half in step 4 of the fold sequence, some people tend to press the entire thing flat again. This will make your snake look like a stiff, uninspiring strip.
* **How to Avoid:** When you fold the strip in half to create the backbone, the goal is simply to establish that central crease. As soon as you’ve made that firm crease, gently open the two halves apart. You want that lovely V-shape to emerge, allowing the accordion folds to give the snake its body and dimension. Don’t flatten it back down! The beauty of the accordion fold is its ability to expand and contract, giving the snake a sense of form.
* **Over-Shaping the Head/Tail:** Sometimes, in an effort to make a distinct head or tail, people might try to fold or crease too aggressively at the ends.
* **How to Avoid:** The head and tail of this snake are best created with a gentle pinch and pull. You’re not looking for sharp folds here, but rather a subtle reshaping of the paper. Think of it like coaxing the paper into a shape rather than forcing it. Gently expanding the fibers of the paper at the ends will give a more organic and natural look.
Varying Your Serpent Friend**
Once you’ve made your first snake, you’ll see how easy it is to experiment and create a whole family of them!
* **Size:** As mentioned, larger squares make longer snakes, and smaller squares make shorter, more delicate ones. Try making a variety of sizes for a dynamic display.
* **Paper Pattern & Colour:** This is where your creativity can really shine!
* Use bold, single colors for a striking effect.
* Experiment with patterned papers – floral patterns, geometric designs, even a subtle wood grain can look amazing.
* Consider using different colored paper for the head and tail for a contrasting pop. You could even cut out tiny circles of a contrasting color and glue them on for eyes!
* If you’re feeling adventurous, try using metallic or iridescent paper for a magical touch.
* **Thickness:** While standard paper is great, playing with slightly thicker or thinner papers can give different textures and stiffness to your snakes.
Displaying and Gifting Your Slithery Creations**
Your handmade accordion snakes are too cute to keep hidden away!
* **Desk Buddies:** Pop a few on your desk or bookshelf to add a splash of color and personality to your workspace.
* **Party Decorations:** String them together to create a playful garland for a child’s birthday party or a whimsical themed event.
* **Gifts with a Smile:** These make fantastic little gifts. Tuck one into a birthday card, use it as a unique bookmark, or give a whole bunch as a fun surprise. They’re a lovely way to add a handmade touch to any occasion.
* **Educational Tool:** For younger children, these snakes can be a fun way to talk about patterns, counting (the accordion folds), and even animal shapes.
I hope you’ve enjoyed making your accordion paper snakes! It’s a wonderfully simple craft that brings a lot of joy. Happy folding, and may your snakes slither happily wherever you choose to place them!
Conclusion
Congratulations on completing your Accordion Paper Snake Craft! We hope you had a fantastic time bringing this slithery friend to life. Don’t worry if your first attempt isn’t absolutely perfect; every fold is a learning opportunity and part of the fun. The joy is in the creation! We’d love to see your finished creations, so feel free to share them with us!
Ready for more serpentine adventures? Try making your snake with different colored papers or experiment with using a longer strip of paper for an extra-long accordion snake. There are so many paper projects waiting to be discovered! Keep folding and keep creating!