Easy Origami Bat: Step-by-Step Folding Guide
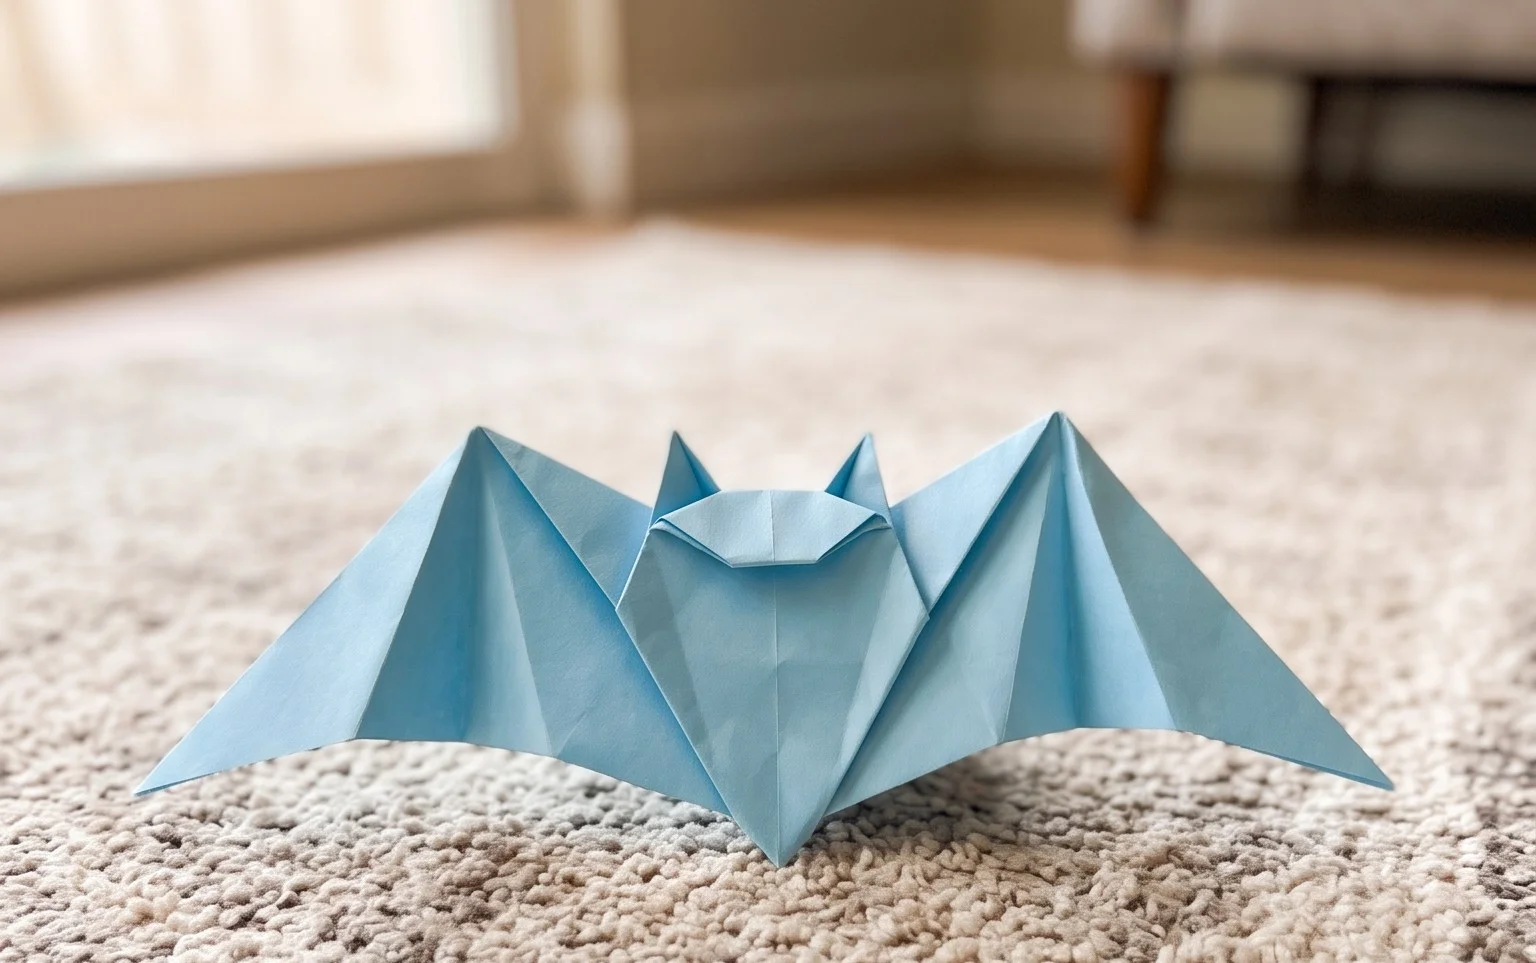
Origami Bat tutorials are some of the most fun and spooky crafts you can do! Imagine a cute little bat, with wide, welcoming wings, a tiny folded body, and perhaps even a little pointed nose, ready to hang around for Halloween or just to add a touch of playful spookiness to your room. This project is absolutely perfect for complete beginners and kids alike, taking only about 5-10 minutes to complete. You’ll learn simple yet effective folding techniques that create a surprisingly recognizable bat shape. Get ready to transform a simple square of paper into your very own flying friend!
## Origami Bat: Step-by-Step Instructions
Hello origami enthusiasts! Today, we’re going to embark on a fun and slightly spooky adventure as we learn how to fold our very own origami bat. This is a fantastic model for both beginners and intermediate folders, and with a little patience and precision, you’ll have a charming creature ready to hang from your ceiling or adorn your desk. Let’s get started!
### Choosing Your Paper
The paper you choose is crucial for a successful origami fold. For our bat, I recommend using standard origami paper.
- Type: Traditional origami paper is best. It’s thin enough to allow for multiple layers of folds without becoming too bulky, yet strong enough to hold its shape.
- Weight: Most origami paper is around 70-90 gsm (grams per square meter). This is perfect for our bat. Avoid cardstock or very thick paper, as it will be difficult to make crisp folds.
- Size: A good starting size for a beginner is a 6-inch (15cm) square. This gives you enough space to work with each fold and see your progress clearly. You can certainly experiment with larger or smaller sizes later on.
- Single or Double-Sided: For this bat, a single-sided colored paper works wonderfully. This way, the inside of the wings will be white, creating a nice contrast. However, double-sided paper can also look striking, especially if you choose contrasting colors. If you’re using paper with a pattern on one side and a solid color on the other, decide which side you want to be the dominant color of your bat (usually the black or darker color).
### The Base Folds: Building the Foundation
Before we dive into the specific steps for the bat, let’s familiarize ourselves with a couple of fundamental origami folds that we’ll be using repeatedly. Making these folds clean and precise is key to a good final result.
The Valley Fold
This is the most basic fold in origami. Imagine you’re creating a gentle dip or valley in your paper. To make a valley fold, you bring one edge or corner of the paper to meet another edge or corner. Then, you press down firmly along the crease line to flatten it. When unfolded, the crease will look like a V.
The Mountain Fold
This is the opposite of a valley fold. Imagine you’re creating a peak or mountain on your paper. To make a mountain fold, you first make a valley fold along the desired crease line, and then you unfold the paper. Now, with the paper facing the opposite side, you push along that existing crease, making it fold upwards. When unfolded, the crease will look like an inverted V.
The Preliminary Base (Square Base)
This is a foundational base for many origami models. We’ll make this first.
- Start with your square piece of paper, colored side up if you’re using single-sided paper.
- Fold the paper in half diagonally, bringing the bottom-right corner up to meet the top-left corner. Crease well. Unfold.
- Now, fold the paper in half diagonally again, this time bringing the bottom-left corner up to meet the top-right corner. Crease well. Unfold. You should now have an ‘X’ shaped crease on your paper.
- Flip the paper over to the white side (or the opposite side).
- Fold the paper in half horizontally, bringing the bottom edge up to meet the top edge. Crease well. Unfold.
- Fold the paper in half vertically, bringing the left edge over to meet the right edge. Crease well. Unfold. You should now have a ‘+’ shaped crease on this side.
- Now, with the paper facing you on the side with the ‘+’ creases, gently push the left and right sides inwards along the horizontal crease. The top and bottom points will naturally come together. Bring the top point down to meet the bottom point, collapsing the paper into a smaller square. This is your preliminary base. Ensure all edges are aligned and creases are sharp.
### Folding Your Origami Bat: A Step-by-Step Journey
Now that we have our preliminary base, let’s transform it into a spooky bat!
-
Start with your preliminary base, ensuring the open end is facing you and the closed point is at the top.
-
Take the right flap of the top layer and fold its bottom edge inwards to meet the center vertical crease. Make sure the point of the flap aligns with the bottom point of the base. Crease firmly.
-
Repeat this on the left side with the left flap of the top layer. Bring its bottom edge to meet the center vertical crease, aligning the point with the bottom point of the base. Crease firmly.
-
You should now have a kite-like shape on top. Now, fold the top triangular point down. The fold line should be just above where the two side flaps meet the center crease. Crease firmly and then unfold this top triangle.
-
Now comes a slightly trickier fold called a petal fold. Open up the right flap you just folded. You’ll see the crease you made in the previous step. Lift the bottom point of this flap upwards, using the crease you just made as a guide. As you lift, the sides will naturally fold inwards along the creases you made in steps 2 and 3. Flatten the paper to create a long, slender diamond shape. This is a petal fold.
-
Repeat the petal fold on the left side. Open up the left flap, lift the bottom point upwards using the horizontal crease as a guide, and let the sides fold inwards along the existing creases. Flatten to create another long, slender diamond shape.
-
Flip the entire model over to the other side.
-
You will see a shape similar to what you had before the petal folds. Take the right flap and fold its bottom edge inwards to meet the center vertical crease. Crease firmly.
-
Repeat on the left side with the left flap. Bring its bottom edge to meet the center vertical crease. Crease firmly.
-
Now, fold the entire model in half vertically, bringing the right side over to the left side. Crease very firmly along the center line. This will create the main body and wings of your bat.
-
Now we’ll form the head. Look at the pointy end that will become the head. We need to create a small fold to shape it. Take the very tip of this pointy end and fold it downwards, just a small amount, creating a tiny crease. Then, unfold this small fold. This crease will help us later.
-
Next, we’ll make an inside reverse fold to create the bat’s head. Gently open up the tip slightly. Push the point inwards along the crease you just made in step 11, so that the point folds *inside* the model. Flatten it down to create a small, blunt head. This is an inside reverse fold.
-
To create the bat’s ears, we’ll make two more inside reverse folds. Look at the top of the head. You’ll see two small points sticking up from where you made the inside reverse fold. Take the right point and make a small diagonal fold downwards and inwards, tucking it inside to create an ear shape. Repeat this on the left side with the other point to create the second ear. These are also inside reverse folds, but on a smaller scale.
-
Now, let’s shape the wings. You should have two large flaps extending from the body. Take the right flap (which will be a wing) and fold it downwards. The fold line should start from near the head and extend diagonally towards the bottom edge. The angle of this fold will determine how spread out your bat’s wings are. Crease firmly.
-
Repeat this wing fold on the left side, making sure the angle matches the right wing. Crease firmly.
-
To give the bat some dimension, you can gently curve the wings outwards. You can also make small pleats on the underside of the wings if you wish, but for a beginner, simply curving them is sufficient.
-
Finally, you can gently bend the body of the bat to give it a more three-dimensional, hanging posture.
### Common Pitfalls and How to Avoid Them
Even with clear instructions, sometimes origami can be a bit tricky! Here are a couple of places beginners often stumble with this bat model and how to navigate them.
1. Messy Petal Folds (Steps 5 & 6)
The petal fold can be challenging because you’re essentially manipulating multiple layers of paper simultaneously.
How to avoid it:
- Pre-crease accurately: Ensure the initial creases you make in steps 2, 3, and 4 are as sharp and precise as possible. These are the guides for your petal fold.
- Work slowly and deliberately: Don’t rush this step. Gently lift the point and allow the paper to collapse along the existing creases. Sometimes, a fingernail can help guide the paper into place.
- Don’t force it: If the paper isn’t collapsing smoothly, check your existing creases. You might need to slightly open up the flap again to ensure the paper can move freely.
2. Awkward Head and Ear Folds (Steps 11, 12 & 13)
The inside reverse folds for the head and ears require a bit of finesse.
How to avoid it:
- Small pre-creases: For the head, make that initial small fold (step 11) just big enough to guide the inside reverse fold. Too large and it might look disproportionate.
- Gentle manipulation: When performing the inside reverse fold for the head, don’t try to jam the entire point inside at once. Gently open the tip and encourage the fold to happen inwards.
- Symmetry for ears: For the ears, try to make the diagonal folds symmetrical. Look at the angle of one ear and try to replicate it on the other. A slight misalignment can make one ear look much larger or smaller than the other.
Varying Your Origami Bat
Once you’ve mastered the basic bat, don’t be afraid to experiment!
- Size: Use larger or smaller squares of paper to create bats of different sizes. Larger paper can be great for more detailed wings, while smaller paper is perfect for making a whole colony.
- Paper Pattern: Get creative with patterned origami paper! You could have bats with spooky Halloween patterns, floral designs for a more whimsical feel, or even metallic paper for a glamorous touch.
- Color: While black is classic for a bat, try other colors! Deep purples, greys, or even vibrant oranges can create unique and eye-catching bats. You could even try a gradient paper for a subtle color shift.
Displaying or Gifting Your Creation
Your finished origami bat is more than just a folded piece of paper; it’s a work of art!
- Hanging Decoration: The most popular way to display an origami bat is by hanging it. You can attach a small loop of thread or fishing line to the top of the bat’s body (near the head) and hang it from your ceiling, a light fixture, or even a branch. They look fantastic in groups!
- Desk Buddy: Your bat can also be a charming desk companion. The slight curve of its body allows it to perch on the edge of a desk, a shelf, or even a potted plant.
- Party Decorations: For Halloween or themed parties, a collection of these bats can create a wonderfully eerie or festive atmosphere. String them together to make a garland, or scatter them around your party space.
- Gifting: An origami bat makes a thoughtful and unique gift for anyone who appreciates handmade crafts. You can gift a single bat or a small group as a special surprise. They’re perfect for birthdays, holidays, or just to brighten someone’s day. Consider placing it in a small box with some tissue paper for an extra special presentation.
I hope you’ve enjoyed folding your origami bat! Remember, practice makes perfect, so don’t get discouraged if your first attempt isn’t exactly as you imagined. Keep folding, and you’ll be creating a whole swarm of these fantastic creatures in no time! Happy folding!
Conclusion
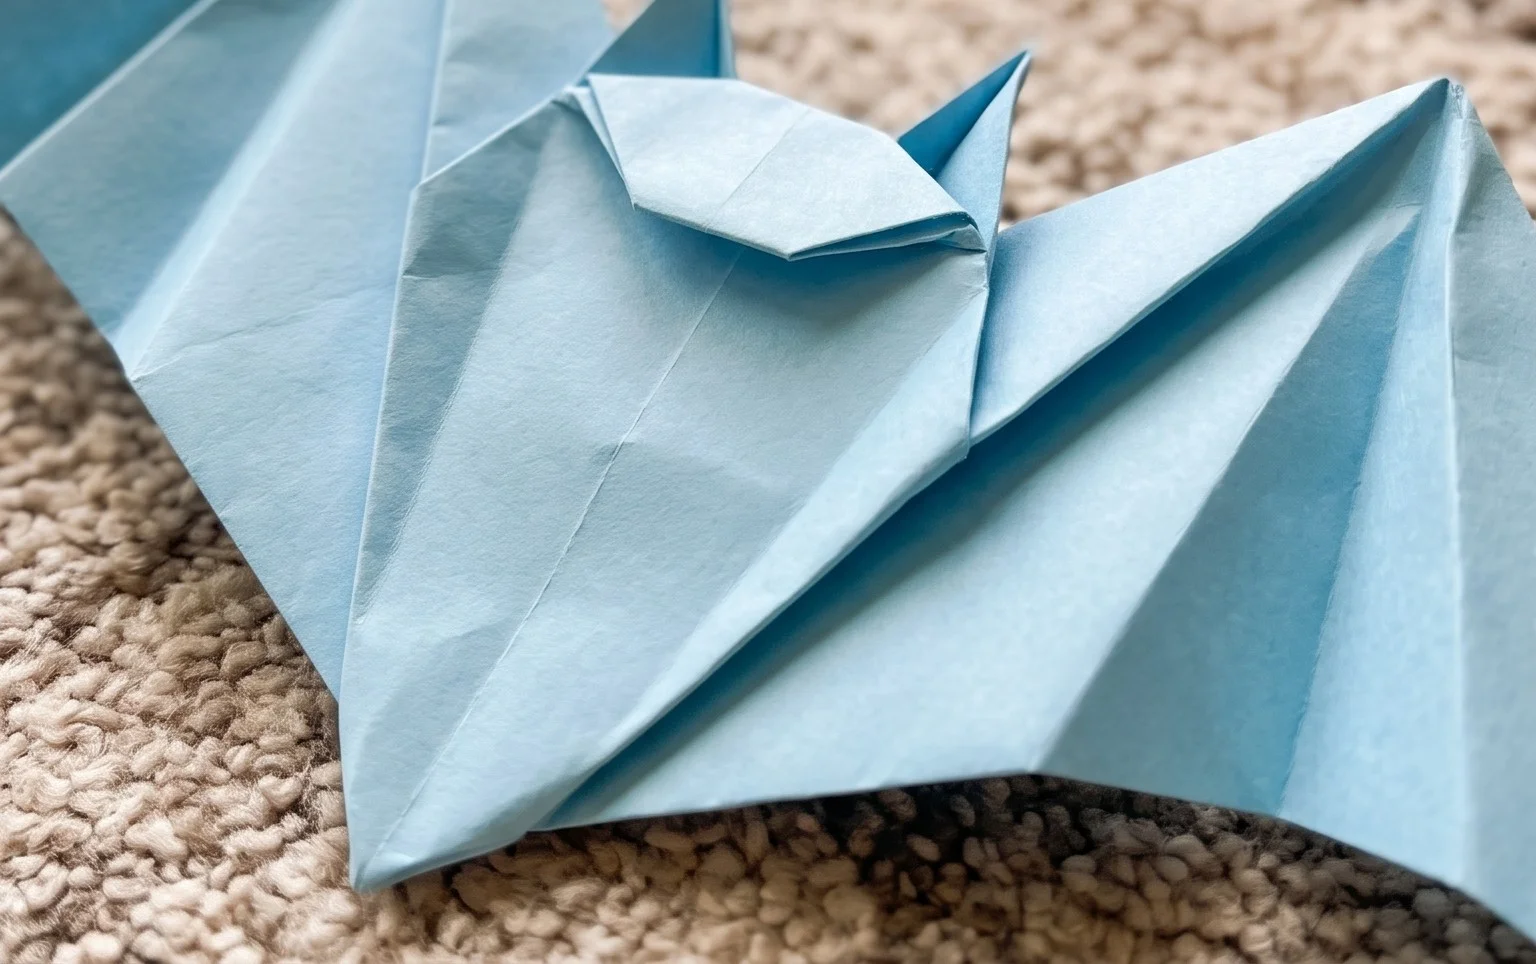
Congratulations on completing your origami bat! We hope you enjoyed folding this spooky-yet-cute creature. Don’t worry if your first attempt isn’t perfect; every fold is a step towards mastery, and practice makes your origami bat even better. We’d love to see your creation! Share it with friends or family to spread some paper-folding cheer.
Next Steps:
Ready for more? Try folding a smaller bat for a whole colony, or experiment with different paper colors for a unique look. There are so many wonderful paper projects waiting for you to discover. Keep exploring and folding!