Easy Origami Frog Face: Step-by-Step Guide
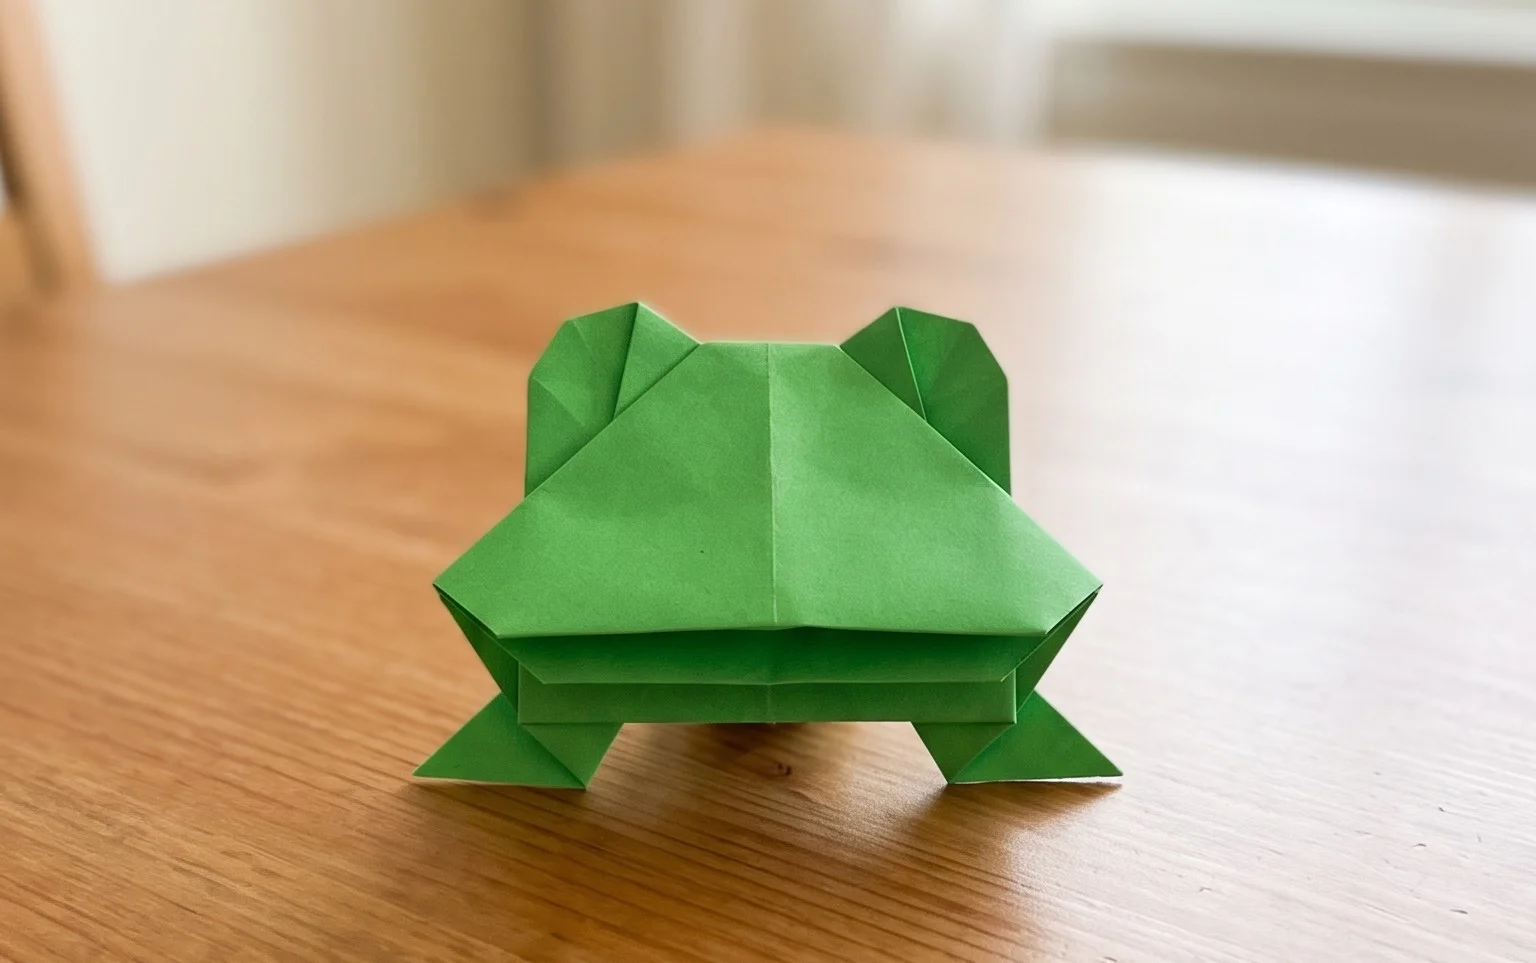
Origami Frog Face is a super fun and incredibly simple fold that anyone can master! Imagine a cute, smiling frog peeking out at you, its round eyes ready for some playful adventures. This charming little creation is absolutely perfect for complete beginners, young children looking for a quick craft, or even as a sweet, handmade touch for gifts and decorations. In just about 5-10 minutes, you’ll have your very own froggy friend ready to go!
In this easy-to-follow tutorial, we’ll guide you through each fold, showing you exactly how to transform a simple square of paper into this adorable amphibian. Get ready to discover the joy of origami as we bring this happy little frog to life, step by delightful step. Let’s get folding!
Origami Frog Face: Step-by-Step Instructions
Welcome to the wonderful world of origami! Today, we’re going to fold a super cute and surprisingly simple origami frog face. This project is fantastic for beginners, offering a satisfying result with just a few well-executed folds. It’s a great way to get acquainted with some fundamental origami techniques that you’ll find useful for many other models. So, let’s get folding!
Choosing Your Paper
The first step in any origami journey is selecting the right paper. For our frog face, you don’t need anything too fancy, but a few choices will give you a better experience and a nicer-looking result.
Type and Weight
The most common and readily available origami paper is called “kami.” It’s specifically designed for origami, being thin enough to fold multiple layers without becoming too bulky, yet strong enough to hold creases well. Kami typically comes in squares and is often coloured on one side and white on the other, which is perfect for adding a pop of contrast to our frog’s face.
If you don’t have dedicated origami paper, standard printer paper cut into a square can work, but it might be a little thicker. For this model, it’s not a dealbreaker, but be aware that thicker paper can make the final folds a bit more challenging. Avoid cardstock or construction paper as they are too stiff.
Size
For your first frog face, I recommend starting with a square that is around 6 inches (15 cm) by 6 inches. This size is large enough to practice your folds clearly and see the progress, but not so large that it becomes unwieldy. Once you’re comfortable, you can experiment with smaller or larger sizes.
Single or Double-Sided Paper
As I mentioned, single-sided paper (coloured on one side, white on the other) is ideal. This will allow the coloured side to become the “face” of your frog, and the white side will be visible on the inside of the folds, which often adds a nice subtle detail. If you only have double-sided paper, that’s perfectly fine too! You’ll just end up with a frog face that’s coloured all the way through.
The Base Folds: Building the Foundation
Before we dive into the frog face itself, let’s ensure we’re all on the same page with a couple of essential folds. Making these cleanly will make the rest of the process much smoother.
The most important fold we’ll be using is the “valley fold.” This is where you fold a piece of paper in half so that the crease forms a “V” shape, like a valley.
The second important fold is the “mountain fold.” This is the opposite of a valley fold, where you fold the paper in half so the crease forms an inverted “V” shape, like a mountain peak.
To make any fold cleanly, always start by aligning your edges or corners precisely. Then, run your finger firmly along the fold line, from the center outwards. This creates a sharp crease that will make subsequent steps much easier and give your final model a crisp, professional look.
Your First Origami Frog Face: A Numbered Walkthrough
Alright, let’s get started! I’ll guide you through each step. Remember to take your time and enjoy the process.
1. **Starting Position:** Place your square piece of paper in front of you, coloured side down (if using single-sided paper). Imagine it like a diamond, with one point facing you and another point facing away from you.
2. **First Diagonal Fold:** Take the bottom corner (the one closest to you) and bring it up to meet the top corner. Align the two corners as precisely as you can. Press down firmly along the diagonal crease that forms. This is a valley fold. You should now have a triangle.
3. **Unfold:** Gently unfold the paper back to its original square position. You’ll see a crease running diagonally across the square from corner to corner.
4. **Second Diagonal Fold:** Now, take the right corner and bring it over to meet the left corner. Align these corners precisely and press down firmly along the crease. This is another valley fold. You’ll now have a triangle again, but this time creased in the opposite direction.
5. **Unfold:** Unfold the paper back to the square. You should now have two diagonal creases forming an “X” on your paper.
6. **Bringing the Sides In:** Rotate your paper so it’s back in the diamond orientation (one point towards you). Take the right corner and fold it inwards so that the right edge of the paper aligns perfectly with the center diagonal crease you made earlier. Press down firmly along this new crease. This is a valley fold.
7. **Repeat on the Left:** Now, take the left corner and fold it inwards so that the left edge of the paper aligns perfectly with the same center diagonal crease. Press down firmly. This is another valley fold. Your paper should now look like a kite shape, with two triangular flaps pointing upwards and outwards.
8. **Folding the Top Point Down:** Take the very top point of the kite shape (where the two flaps meet) and fold it downwards. You want to bring this point down so that its tip touches the point where the two folded edges (from steps 6 and 7) meet at the bottom. Press down firmly along this horizontal crease. This is a valley fold.
9. **Creating the Frog’s Face:** Now, this is where it starts to look like a frog face! Take the two pointed flaps that are now sticking out on the top left and top right. We are going to fold them downwards. Take the right-hand flap and fold it down so that its outer edge aligns with the vertical center crease of the kite. Press firmly. This is a valley fold.
10. **Repeat on the Left:** Do the same with the left-hand flap. Fold it downwards so its outer edge aligns with the vertical center crease. Press firmly. This is a valley fold. You should now have two pointed flaps folded down, resembling the beginnings of the frog’s eyes or cheeks.
11. **Flipping Over:** Carefully turn your entire model over.
12. **Folding the Bottom Up:** Take the bottom point of the model and fold it upwards. You want to bring this point up so that its tip meets the horizontal crease you made in step 8 (the one where you folded the top point down). Press down firmly along this new crease. This is a valley fold.
13. **Almost There! The Final Fold:** This is the fold that gives our frog face its distinct shape. Take the entire bottom edge of the model (the folded edge you just created) and fold it upwards again. This time, you want to fold it so that the bottom edge aligns with the horizontal line formed by the bottom edges of the two flaps you folded down in steps 9 and 10. Press down firmly. This is a valley fold.
Congratulations! You’ve just folded an origami frog face! You should see two little points sticking up at the top, which are the frog’s eyes, and the overall shape should be quite charming.
Common Pitfalls and How to Avoid Them
Even with clear instructions, beginners can sometimes run into a few tricky spots. Here are the most common places people go wrong with this model and how to prevent those issues:
* **Imprecise Corner and Edge Alignment:** This is the number one culprit for wonky origami. When I say “align,” I mean *exactly* align. Take an extra second to make sure the corners are perfectly matched before you crease. For example, in step 2, don’t just bring the bottom corner near the top; make sure the points are touching. The same applies to edges meeting creases. The tighter and more accurate your initial folds, the better your final model will look.
* **Failing to Make Crisp Creases:** This is the opposite problem, but just as detrimental. A soft, fuzzy crease means the paper doesn’t hold its shape well. After aligning your paper for a fold, run your fingernail (or a bone folder if you have one) along the fold line with firm pressure, moving from the center outwards. This will give you sharp, defined lines that make subsequent folds much easier.
* **Confusing Valley and Mountain Folds:** While we’ve focused on valley folds here, understanding the difference is crucial. Always double-check which way you’re supposed to be folding. If a fold feels like it’s pushing the paper outwards unnaturally, you might be trying to make a mountain fold when a valley fold is intended, or vice-versa. For this frog face, most folds are valley folds, so if it feels wrong, it probably is!
Varying Your Frog Face
Once you’ve mastered the basic frog face, the fun really begins with variations!
* **Size:** As mentioned, experiment with different sizes. Use a 3-inch square for tiny frogs or a 10-inch square for a larger, more dramatic frog face. The folding process remains the same, but the scale changes.
* **Paper Pattern and Colour:** This is where you can get really creative.
* **Patterned Paper:** Use paper with fun patterns like polka dots, stripes, or even floral designs. This can give your frog a unique personality.
* **Colours:** Try using different colours for the main body of the frog. Green is traditional, but don’t be afraid of blue, yellow, or even purple frogs! You can also use paper that is coloured differently on each side for interesting internal patterns.
* **Two-Sided Contrast:** If you use paper where one side is a bright colour and the other is white, you can strategically unfold certain parts or leave some folds partially undone to reveal the white underneath, creating interesting contrasts.
* **Adding Details:** While this is a simple face, you can draw on eyes or a little mouth with a fine-tipped marker once it’s finished to give it more expression.
Displaying or Gifting Your Frog Face
Your finished frog faces are incredibly versatile and make wonderful little decorations or gifts.
* **Party Favors:** Fold a bunch of these for a birthday party. They’re lightweight and can be placed on tables or in goodie bags.
* **Desk Companions:** Place them on your desk at work or school to add a touch of cheer.
* **Bookmark Buddies:** The flat-ish base of the frog face can sometimes act as a simple bookmark.
* **Creative Displays:** String them together with a bit of thread to make a whimsical garland.
* **Gifting:** Tuck one inside a greeting card, attach it to a gift package with a ribbon, or simply hand one to a friend who needs a little smile. They’re small tokens that convey thoughtfulness and artistic effort.
I hope you’ve enjoyed folding your very own origami frog face! With a little practice, you’ll be folding them quickly and beautifully. Keep experimenting, and happy folding!
Conclusion
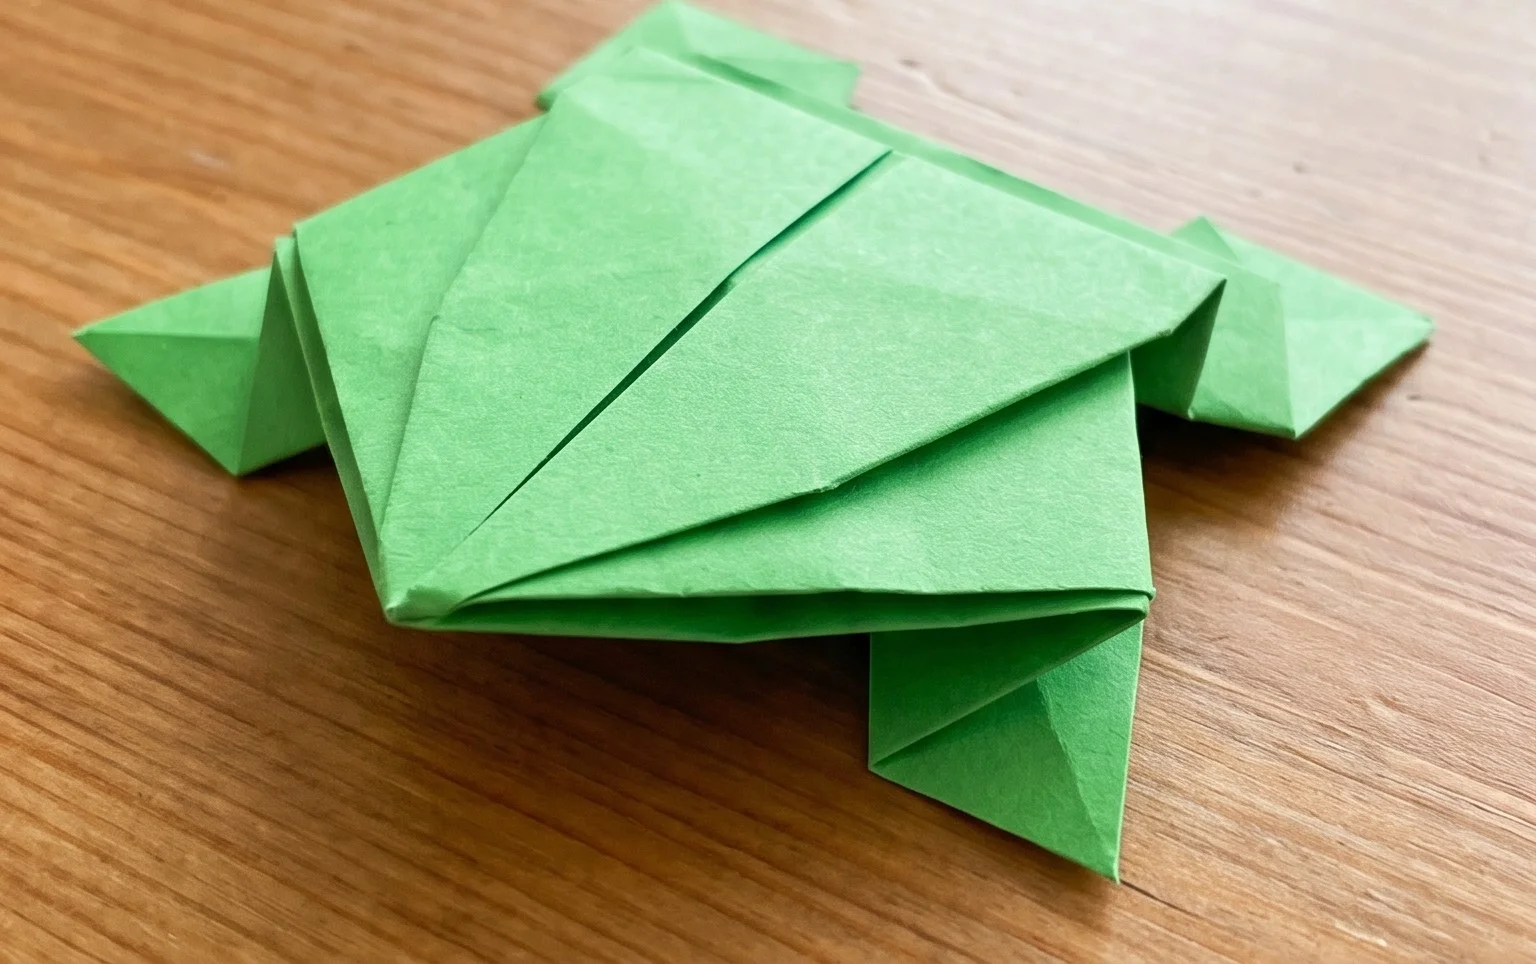
Congratulations on folding your very own origami frog face! Don’t worry if your first attempt isn’t perfect – every fold is a step towards mastery, and practice makes the most charming origami frog. We hope you enjoyed this fun paper craft. Now that you’ve mastered this origami frog face, why not try folding a traditional origami frog that hops, or perhaps a different animal like a cute origami bunny? Share your delightful frog creations with friends and family, and then dive into our collection of exciting paper projects for more creative adventures!