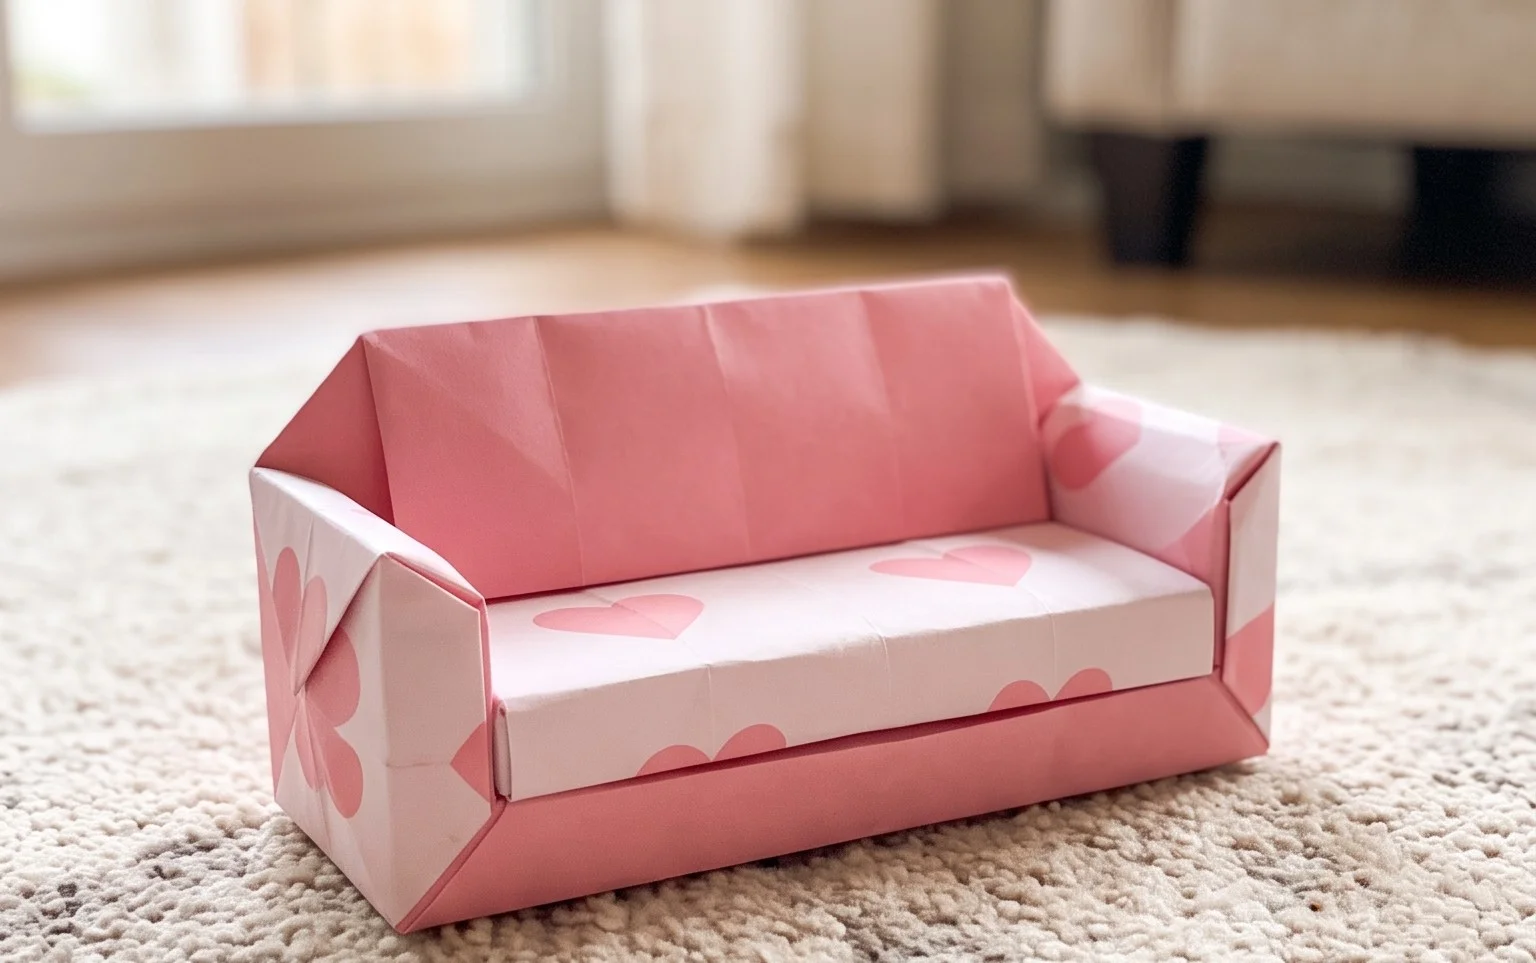
Easy Paper Stars: 30+ DIY Decorations & Tutorials
DIY paper star decorations are a fantastic way to bring a touch of sparkle and handmade charm into your home! Imagine creating a constellation of shimmering stars, from simple, flat designs perfect for hanging on a Christmas tree to intricate, multi-dimensional wonders that seem to float in mid-air. Whether you’re a complete beginner looking for an easy craft, searching for a fun activity to do with kids, or need to whip up some thoughtful, personalized gifts, these projects are for you. Many can be made in under 30 minutes, making them ideal for a quick crafting session. In this tutorial, we’ll explore over 30 unique ideas, guiding you step-by-step through various folding techniques. Get ready to unfold some magic and learn how to transform simple paper into dazzling decorations!
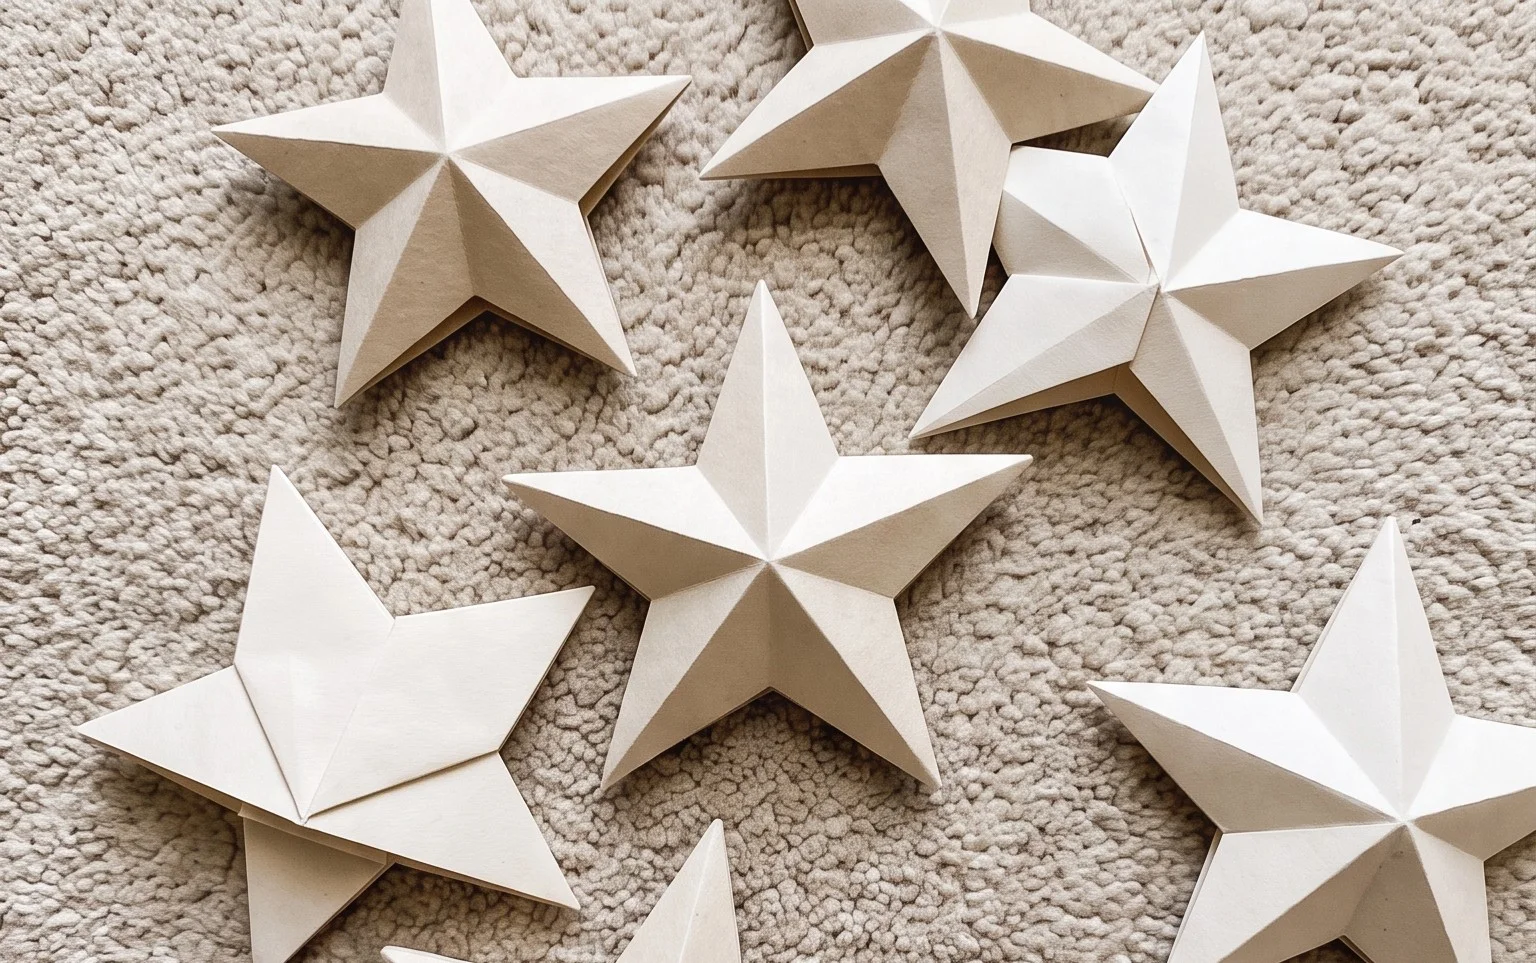
Crafting Celestial Beauty: Your Guide to 30+ DIY Paper Star Decorations
There’s a special kind of magic that paper stars bring. Whether it’s the twinkle of a festive season, a whimsical touch to a child’s room, or a thoughtful handmade gift, these simple yet stunning creations are incredibly rewarding to make. Today, we’re diving into the wonderful world of origami stars, exploring over 30 delightful variations and giving you the foundational knowledge to fold them with confidence. We’ll cover everything from choosing the right paper to mastering essential folds and avoiding common pitfalls.
Choosing Your Stellar Materials: The Paper Predicament
The paper you choose is fundamental to the success and aesthetic of your origami stars. Don’t underestimate its power!
Paper Type:
For most basic origami stars, standard origami paper is your best friend. This paper is specifically designed to be crisp, hold a sharp crease, and be relatively thin while still being strong enough to withstand multiple folds. It usually has a colored side and a white side, which can be a useful visual cue during folding. If you can’t find dedicated origami paper, printer paper can work in a pinch, but it’s thicker and may result in a bulkier star. For more advanced or decorative stars, you might explore specialty papers like Washi paper (known for its beautiful patterns and strength), metallic paper for a glamorous sheen, or even cardstock for a very sturdy, weighty star (though cardstock can be challenging for beginners to fold cleanly).
Paper Weight:
Origami paper typically ranges from 60-90 gsm (grams per square meter). Lighter paper is easier to fold but can be more prone to tearing. Heavier paper holds creases better and gives a more substantial feel but can be more difficult to manipulate, especially for intricate designs. For learning, aim for something in the middle, around 70-80 gsm.
Paper Size:
The size of your paper directly impacts the size of your finished star. Common origami paper sizes are 6 inches (15 cm) and 3 inches (7.5 cm) squares. Smaller squares are great for intricate designs or making many tiny stars for garlands. Larger squares are easier for beginners to handle and create more prominent decorations. You can easily cut larger paper into squares, so don’t be afraid to experiment with different dimensions.
Single or Double Sided:
This is where personal preference and the specific star design come into play.
* **Single-sided paper** (one colored side, one white side) is excellent for learning. The contrasting colors make it easier to follow instructions and understand which side is facing up. Many star designs intentionally use the white side for some parts of the finished model, creating visual interest.
* **Double-sided paper** (colored on both sides, or patterned on both sides) offers a more uniform look. If your star design involves folding edges to the center or creating points from inside layers, double-sided paper will ensure the color is consistent throughout. For truly dazzling stars, consider papers with different colors on each side – as you fold, new color combinations will emerge!
Mastering the Foundation: Essential Folds for Your Star
Before we jump into specific star designs, let’s get comfortable with a few fundamental folds. Precision here makes all the difference.
The Valley Fold:
This is the most basic fold. Imagine you’re creating a “valley” in the paper.
1. Take your square piece of paper and place it flat in front of you.
2. Choose an edge and bring it over to meet an opposite edge.
3. Align the edges perfectly.
4. Run your fingernail or a bone folder firmly along the line where the two edges meet to create a sharp crease.
5. Unfold the paper. You should have a crease running across the middle.
The Mountain Fold:
This is the opposite of a valley fold. Imagine creating a “mountain peak.”
1. Start with a piece of paper that has already been creased (e.g., from a valley fold).
2. Instead of bringing the edges together, you’ll fold the paper *away* from you along that existing crease.
3. If you made a valley fold previously, you’ll push the paper upwards along that crease so the crease points outwards like a mountain.
4. Again, make sure to press firmly to create a crisp crease.
The Diagonal Fold:
This is a type of valley fold that works with corners.
1. Place your square paper with one corner pointing towards you (like a diamond).
2. Take the bottom corner and bring it up to meet the opposite top corner.
3. Align the corners precisely.
4. Crease firmly along the folded edge.
5. Unfold. You’ll have a diagonal crease. Repeat this for the other two corners to create an ‘X’ of creases.
The Half Fold (Book Fold):
This is a simple valley fold between opposite edges.
1. Place your square paper so its edges are horizontal and vertical.
2. Take the bottom edge and bring it up to meet the top edge.
3. Align the edges carefully.
4. Crease firmly.
5. Unfold. You’ll have a horizontal crease. Repeat this with the left and right edges to create a vertical crease.
The Squash Fold:
This fold is a little trickier and requires patience. It essentially “squashes” a flap of paper flat.
1. Imagine you have a flap of paper sticking up. You want to flatten it.
2. Gently open the flap.
3. Look at the creases you’ve already made. You’ll typically have a horizontal crease at the base of the flap.
4. Using those existing creases, carefully push the sides of the flap inwards.
5. Simultaneously, bring the top point of the flap down onto the center.
6. As you do this, the paper will naturally want to flatten. Guide it to form a flat, triangular shape. Press firmly to set the creases.
A Beginner-Friendly Star: The Classic Five-Pointed Star
This is a fantastic starting point, and once you master it, you’ll unlock the potential for countless variations. We’ll assume you’re using a square piece of single-sided paper with the colored side facing up.
Step-by-Step Folding Sequence:
1. **Prepare your paper:** Place your square of paper with the colored side facing up in front of you.
2. **Diagonal Fold:** Fold the paper in half diagonally by bringing the bottom right corner up to meet the top left corner. Crease firmly and unfold. You should have a diagonal crease running from top-left to bottom-right.
3. **Second Diagonal Fold:** Now, fold the paper in half diagonally again, this time bringing the bottom left corner up to meet the top right corner. Crease firmly and unfold. You’ll have an ‘X’ shaped crease pattern on your paper.
4. **Fold in Half (Book Fold):** Rotate the paper so it looks like a diamond (a corner pointing towards you). Now, fold the bottom corner up to meet the top corner. Crease firmly and unfold. You have a vertical crease.
5. **Form the Base:** Bring the right edge of the paper over to meet the vertical center crease you just made. Crease firmly.
6. **Repeat on the Other Side:** Bring the left edge of the paper over to meet the vertical center crease. Crease firmly. Your paper should now look like a long, narrow kite.
7. **Fold Up the Point:** Take the bottom pointed tip of the kite shape and fold it upwards so that the tip meets the point where the two angled edges (from steps 5 and 6) intersect the top horizontal edge of the paper. Crease firmly.
8. **Fold Down the Overlap:** You’ll have a small triangular flap sticking up above the fold you just made. Fold this flap downwards, aligning its edge with the horizontal top edge of the paper. Crease firmly. This secures your previous fold.
9. **Create the Star’s Arms:** This is where we start shaping the points. You’re going to fold the right angled edge (the one created in step 5) over so that it aligns with the vertical center line. Think of it as folding the right side of your kite in half again. Crease firmly.
10. **Repeat on the Left:** Do the same for the left angled edge, folding it over to align with the vertical center line. Crease firmly. Your paper will now be quite thick and layered.
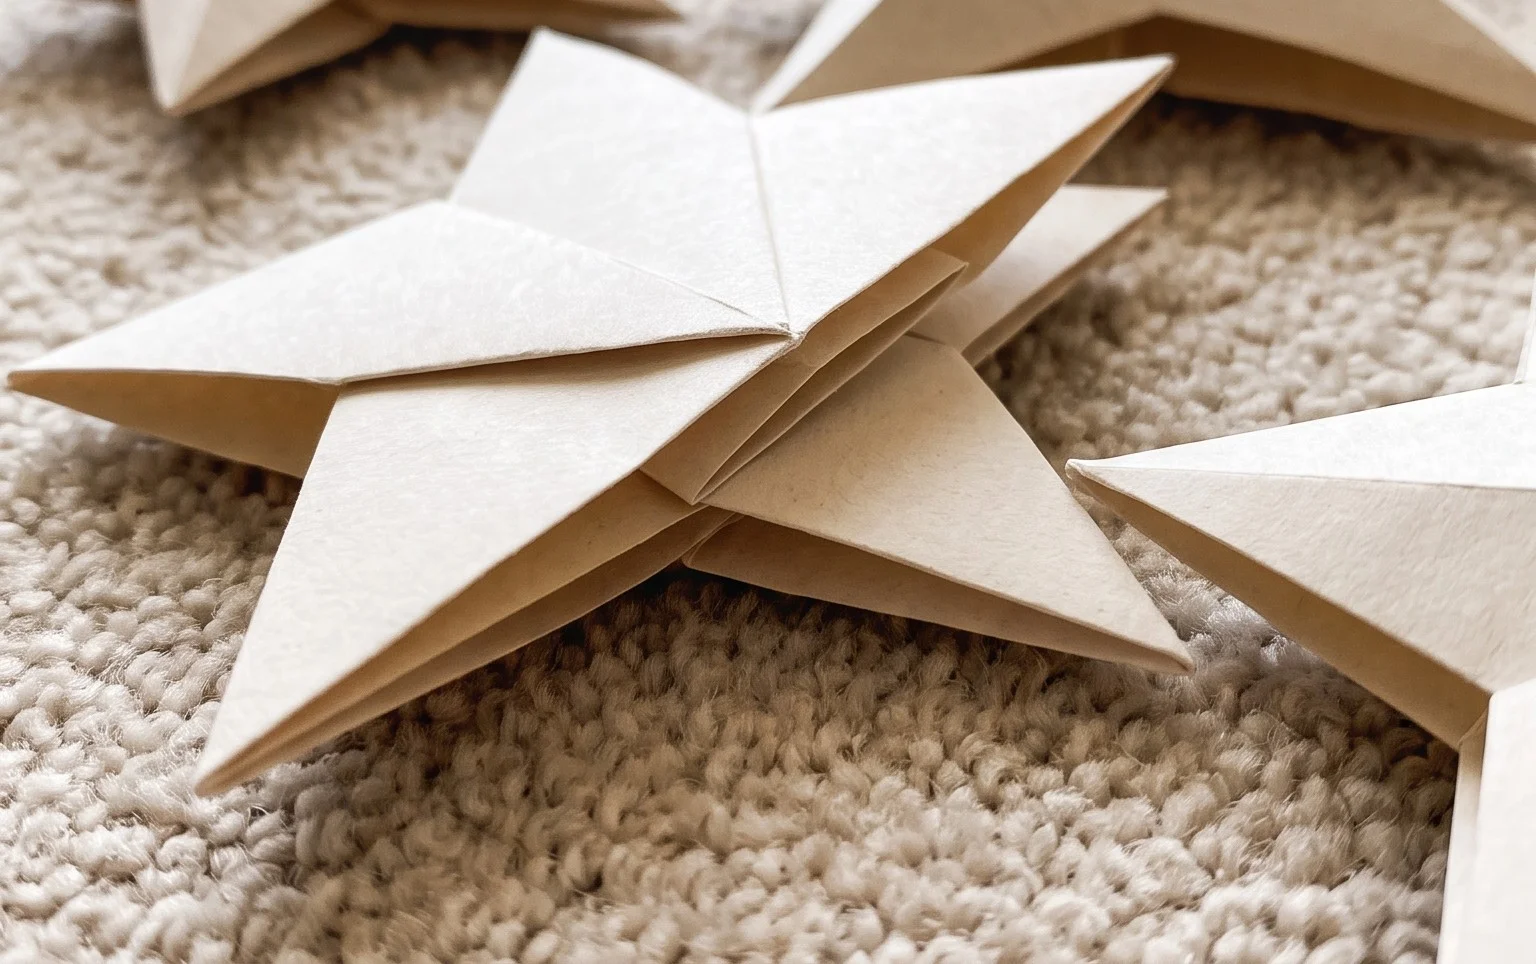
11. **The Crucial Angle Fold:** Now, for the magic! Look at the right side of your folded paper. You’ll see a diagonal edge. You need to make a fold that goes from the outer point on the right, angling *inward* and *downward*. The goal is to fold along a line that will create one of the star’s five points. A good guide is to try and make the bottom edge of this new fold parallel to the bottom edge of the paper. This fold will be tricky because of the thickness. Align the edge you are folding as precisely as possible. Crease firmly.
12. **Repeat the Angle Fold:** Do the exact same angled fold on the left side. Try to mirror the angle you made on the right. Crease firmly.
13. **Unfold to Reveal:** Gently unfold the last two angled folds you made. You should now see the outline of a five-pointed star with creases.
14. **Forming the Star:** This is where the paper “pops” into a 3D shape. Gently push the sides of the paper inwards along the creases you’ve made. The angled folds you made in steps 11 and 12 will naturally want to fold inwards, creating the star’s points. Guide these folds so they become sharp creases. You’ll essentially be folding the paper back on itself along these lines to create the depth of the star. Press the center of the star firmly to help it hold its shape.
Common Pitfalls and How to Sidestep Them
Don’t worry if your first attempt isn’t perfect! Most beginners encounter a few hurdles.
* **Imprecise Folds:** This is the most common issue. If your corners don’t meet exactly or your edges aren’t perfectly aligned, your final model will be lopsided.
* **How to avoid:** Take your time! Before you crease, adjust and align until you are certain everything is perfect. Use a flat surface and press down on the paper to hold it in place while you align. A bone folder or even the edge of a ruler can help create incredibly sharp and accurate creases.
* **Weak Creases:** A soft crease won’t hold the paper’s shape, leading to a floppy star.
* **How to avoid:** After aligning your edges or corners, use the side of your fingernail, a bone folder, or even a clean, smooth pen cap to run firmly along the entire length of the fold. Repeat the crease a couple of times for extra sharpness.
* **The Angled Fold Confusion (Steps 11 & 12):** This is where many beginners get stuck. It’s hard to judge the correct angle when the paper is thick.
* **How to avoid:** Look at the structure of the paper. You are essentially folding the layered flaps inwards to create the star’s points. Try to make the diagonal fold so that the edge you are folding aligns with the edge of the previously folded flap underneath it. Don’t be afraid to unfold and readjust. It might take a few tries to get the angle right. Aim for symmetry between the left and right sides.
Varying Your Stellar Creations
The beauty of origami is its versatility. Once you know the basics, you can play with endless variations.
* **Size Matters:** As mentioned, simply start with a larger or smaller square piece of paper. For a large star, you might use an 8.5 x 11 inch sheet cut into a square. For tiny stars, use 3-inch squares or even smaller.
* **Paper Patterns and Colors:** This is where the real fun begins!
* **Patterned Paper:** Use scrapbook paper, gift wrap, or even decorative napkins. These can add incredible texture and visual appeal. Be mindful of the scale of the pattern – a very large pattern might not be ideal for a small star.
* **Color Combinations:** Use single-sided paper with different colored sides to create stars where some points are one color and others are another. Try metallic papers for a festive shimmer or iridescent papers for a magical glow.
* **Double-Sided Designs:** If you have paper with a different pattern or color on each side, consider designs where you deliberately expose both sides.
* **Folding Techniques:** Many complex star designs are variations on this basic structure. You can learn about modular origami stars (where multiple identical units are folded and then assembled) or stars that use pleating and other advanced techniques.
Displaying and Gifting Your Starry Treasures
Finished origami stars are more than just folded paper; they’re miniature works of art.
* **Festive Decorations:**
* **Christmas Trees:** Hang them as ornaments using a loop of thin ribbon or thread.
* **Garlands:** String several stars together to create a beautiful garland for windows, mantels, or doorways.
* **Wreaths:** Glue them onto a wreath base for a unique and personalized decoration.
* **Table Centerpieces:** Arrange them in a bowl or cluster them on a table for a festive centerpiece.
* **Gift Toppers:** Instead of a traditional bow, attach a small origami star to the top of a gift for a personal and charming touch.
* **Party Favors:** For birthdays, showers, or any celebration, a small, carefully folded star makes a delightful party favor.
* **Accents and Embellishments:**
* **Card Making:** Glue them onto handmade cards for an extra special touch.
* **Scrapbooking:** Use them to embellish scrapbook pages, adding a dimensional element.
* **Mobile Creations:** Hang them as part of a larger mobile for a nursery or any space needing a touch of whimsy.
* **The Gift of Craftsmanship:**
* **Framed Art:** Frame a particularly beautiful or intricately folded star in a shadow box for a stunning piece of wall art.
* **Gift Boxes:** Place a few stars inside a small gift box as an added surprise for the recipient.
* **The Art of Giving:** Sometimes, the best gift is something made with love and care. A handmade origami star, especially when accompanied by a personal note, speaks volumes.
Embarking on your origami star journey is a rewarding experience. With a little patience, practice, and the right materials, you’ll soon be filling your home with a constellation of beautiful, handmade stars. Happy folding!
Conclusion
We hope this collection of over 30 DIY paper star decorations has inspired you to get folding! Remember, your first attempt is all about practice. Don’t worry if it’s not perfect; the joy is in the process and the learning. Once you’ve crafted your beautiful paper star, we’d love for you to share your finished model with us or your loved ones. For your next adventure, try creating a glowing paper lantern or a delicate paper crane. There are so many more wonderful paper projects waiting for you to explore!